Important Due Dates
Assessment 1: Assessment 2: Assessment 3:
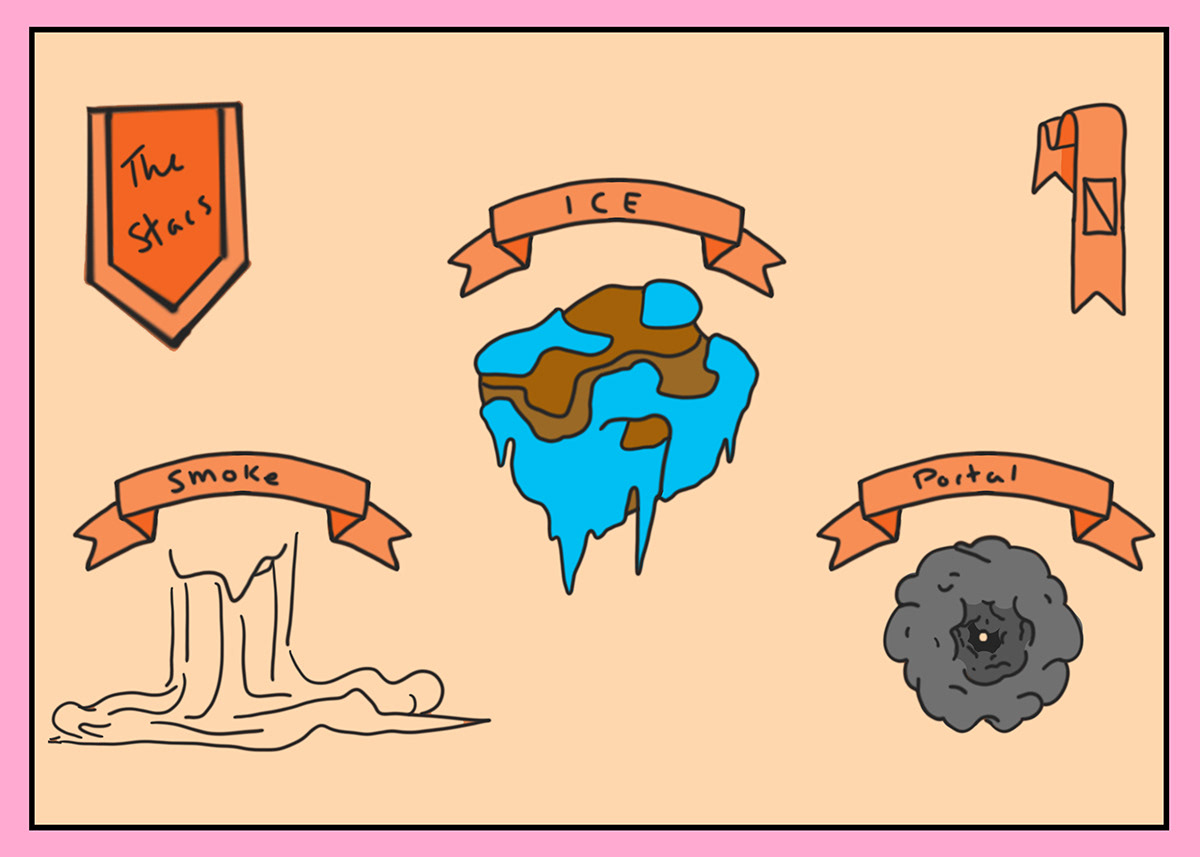
Procedural Geometry Procedural Asset Procedural Broadcast Animation
Due: Sunday March 13th Due: Sunday April 10th Due: Sunday May 8th
MODULE 1
This module will help me build upon and expand my knowledge on procedural effects by first exploring industry methods and techniques. I will then have to apply this knowledge in practice to create natural and biological phenomena in 3D and interpret abstract concepts and ideas.
My mood board and plan:
So for the first assignment we are requires to visualize a scientific or natural structure or phenomenon and my mind went straight to the way Ice forms. I plan on recreating something like the video below where ice crystals form in cold temperatures. I love the way light effects ice as it forms in strange patterns I'm hoping to emulate that as best I can.


Module 1 Exercise: Plexus
In this section we went through he different steps of the creation process, Research the Look and Effect, Breakdown Features/ Behaviors, Experiment, Prototype and lastly the Refine Showcase. through these steps we followed along to create this procedural geometry called a Plexus.
Class Work:
In class we went though systems such as Attribute Manipulation, VOPs, Volumes and VDB's. below are the outcomes of following along.

MODULE 2
In Module 2 we will explore fundamental functions in the geometric space of Houdini and how they in turn relate to the world we live in. Investigating specific tools and functions in the software that will allow us to attempt to translate what we learn into the 3D. Scientific concepts and functions, such as mathematics, scripting, noise, fractals and loops will all be touched upon to help us visualize out goal. This module specifically aims to help us develop these principals though visualization, relating them to phenomena in our own lives.
Module 2 Exercise:
This module we explored some essentials for PGW, Attributes, Geometry Creation, Noise and Scripting.


Next we looked at instancing and DOP's through more follow along work, i found the particle system fun to learn.
Class Work:
MODULE 3
Module 3 Exercise:
Yet to explore this week
MODULE 4
Module 3 Exercise:
Yet to explore as I was moving this week.
Assignment 1
Research:
Before stating this project I first went out and looked at hoe ice reacts with it's environment. I found a few videos that encapsulated it perfectly with ice forming around bubbles that I posted in Module 1. When planning how I would go about recreating this in Houdini I immediately realized that the formation of tiny icicles and star shapes to emulate the video would be quite difficult so I decided to focus on the way it wraps around the bubble first and freezes over as a layer.
What I did:
First I create a base shape emulating a stone or rock then from that using an attribute wrangler and some pyro nodes I began by creating a shape that I wanted to cover in ice, then I blasted some points off and made them the location I would have the ice grow around the shape. I affected the growth shape and rate by playing around with the temperature of the model using an attribute wrangler and Temperature pyro source node. This became my main chunk of ice, next was to make some icicles form off it.
The icicles I made through using popnet nodes and then resampled them adding an attribute VOP, then using poly wire and vdb nodes I created the downward icicle shape. I also made it so that icicles would stop forming after frame 24 so it wouldn't get overrun with icicles.


I then combined the icicles to the main ice form with a vdb combine and soothed it all out to blend together. I then tested changing the input object at the beginning of the tree to see if the ice would effect it in the same way. Finally I added some color to be able to distinguish the ice from the base model. I'm happy with the way its looking so its time to make the ice look icy.
Prototype


Final piece
This was by far the hardest part for me. I messed around with some of the pre made materials. I thought the liquid materials would be my best shot but they weren't giving me the look I wanted and eventually I found something similar to ice through messing with the values within the pre made metallic materials in Houdini. I messed around with the transparency and emissions of the texture until I got the desired look below.


What I could improve:
Ice Texture:
This is still not perfect and needs work, it looks good on screen but when rendering it the lighting doesn't do it justice.
Temperature:
Some tweaking needs to be done within the temperature node so the ice forms more naturally with all possible objects.
Effects:
I would love to add some smoke to the ice as it forms to give the illusion of cold. something reminiscent of when you open a big freezer and everything is laced in as heavy fog.
MODULE 5
Module 5 Exercise:
Yet to explore this week
MODULE 6
Module 6 Exercise:
This week I just went about placing all the objects I wanted in my scene. My goal is to start with the iced rock and slowly show ice forming on the pipe and electric cords. I dragged my ice asset onto those models as well.

MODULE 7
Module 7 Exercise: Soft Body / Fluids
Dynamic geometry is the focus of this week with focus on soft body and fluids. Going through what nodes are needed to create these effects. We where shown how to make cloth tear and water flow into a sink out of taps.
Module 7 Class Work:
This week we went through hoe to create and animate flame or fire, this was really interesting as I'm looking to add mist to my ice and maybe the smoke created by the fire could be adapted to ice. This could also help me in my HSE course as in creating a portal with smoke billowing out. You cant see the smoke in the dark scene below but its there.
We also went though vellum nodes which was really interesting and the way they can affect a model. These nodes might come in handy in the future.
MODULE 8
Smoke:
Using things I learned in creating a portal for HSE I was able to create this simple mist asset to add to the iced models to show cold.
Assignment 2
I was able to get the smoke done that I needed which ill show below with some videos and I was able to slow down the rat of freeing so it goes from slow to fast, however, when it came time to rendering that where my computer drew the line. The video took 2 hours before it crashed and that's after the first 4 attempts failed. Therefore sadly I wasn't able to create a full start to finish video to submit however I was able to get some videos of it separately.
I ran into many issues when creating this scene with objects disappearing sometimes only to show up after a full restart. the smoke or ice not showing up in renders. Its been a struggle for sure haha.


Smoke:
I added noise so the smoke wouldn't just fall straight down as it has been doing and i also decreased its density to represent cold mist more. I also added a ground collider so the smoke wouldn't fall through the floor.
Videos of scenes:
For reasons unknown sometimes the smoke wouldn't activate or it would stop halfway through with the ice.
MODULE 9
Module 9 Class Work:
This week we went through students work for assessment 2 working on what needs to be worked on next. It was interesting to see what others came up with for their assessments. Through seeing their work and comments made I decided to work on my own story to decide what I want to portray and how to do it.
Further Work:
This week I just went through what it is I'm making, what I want to show, what I want to highlight within my scene.
MODULE 10
Module 10 Class Work:
This week we went through sequence techniques with other students projects. The model that was given pyro solver was done in a much simpler way than my smoke asset so I might look to this to add mist to my scene. The last part of the lecture where we are shown how we can scatter selected parts of a model to edit separately was really interesting.
Further Work:
This week I made a scene board. How I want the scene to play out form start to finish, were I want the camera to go etc.
1. Start with a full view of the scene.
2. Zoom into the centre of the rom where he portal will appear.
3. Zoom out slow as portal gets bigger
4. Pan down to see ice starting to form under the portal
5. Follow ice with camera until it hits the edge of the floor
6. Pan to side view of stairs
7. Pan up to the top of steps seeing ice form
8. Rotate cameras along walkway
9. Follow along walkway showing icicles and mist
10.Pan down following mist
11. Zoom out to show fully frozen scene.

MODULE 11/12
Week 11 arose some unavoidable circumstances that carried through to week 12 so I was unable to make much progress other than setting up the scene. The ice asset wasn't working with my Sci-fi scene do I had to remake it and set parameters so it worked, I also made I begin from one singular spot this time instead of multiple.
Assignment 3
For this assessment I had to build on my previous one in creating a story with ice. Following along with my plan I set up the scene where through a portal opening the floor would start to freeze.
After the initial set up of the ice and scene I don't think the ice is spreading fast enough for what I want so I went into the pyro spread node and increased the value from 0.3 to 1 and I think this speed works better for what I'm wanting. I also tried to add the smoke effect but it wasn't implementing correctly so I'm going to leave it for now and move on and come back to it later.
Next I imported the portal and set it up in the center of the scene over the location I chose for the ice to start spreading. I then moved on to set up some key frames for my camera and organize the path I want it to follow through the scene.
I attempted to do a quick flipbook render but it was taking way to long so I decided to just keep working. Looking at the scene I think I may need to implement some other points for the ice to begin forming outside camera shot so it covers the room faster.
Particles
I thought I could really show of the particles I implemented with the portal by going in and adding lights to the particles emitted inside. I did this using a fire ball texture and changed the fire intensity volume to temperature. I like the way it glows form inside.


Ice Texture
Below are some ice textures I played around with having in my scene. I had a Base, Rough and bump map for the ice and I decided to go with editing the tinted glass texture that came in Houdini to get the desired effect.


The texture worked really nicely but I did notice that what it depicted while grey didn't always translate the same in the render, I've put two photos below to show the difference. This wasn't a major issue however I'm not sure why but there where areas where the ice would go slightly green. Also there's like balls on the stairs for reasons I cannot fathom that show up in the render but not normally.


Rigid Body
To depict rigid body I took some barrels with the intent to have them fall and roll around. Originally they kept falling through the floor even though it had a static RBD on it no matter what I tried I couldn't fix it. Instead I made simple grid objects to act as the floor and place them in the same spot and this it seems worked. I also added walls around the edge of the scene so they shouldn't fall off and just bounce back in however that doesn't seem to be working either.


Rendering
Yet again my computer would not have me render anything without either taking multiple hours or crashing. After the 4th crash I decided to just get screen grabs of each scene I depicted in my plan that shows how the camera captures the scene. I was going to rendered screen grabs but mantra and karma would not let me do that so I just got the grey scale shots, for some reason it goes white halfway through but you get the idea of each shot. Each of these shots was a main key frame.
I was also unable to implement the mist, whenever I tried to input it my computer got to slow to use or the mist just wouldn't show up at all.


If I had time to implement all the textures and lighting I had within my original scene it would have looked something like below. I think the lights would have worked really well with the ice forming over it.


